Conditional display is a great way to enhance the presentation AND functionality of your Thrive Suite website. There are an unlimited number of practical ways to implement this great feature, but in this post we're going to take a look at five ways you can implement Conditional Display is just mere minutes.
Prefer a video tutorial? Watch me walk through all five of these methods below.
Upsell Users Inside of Courses
This is one of my favorites. You can show dynamic messages to course takers directly inside of a course and customize the message they see based on what they have access to in Thrive Apprentice.
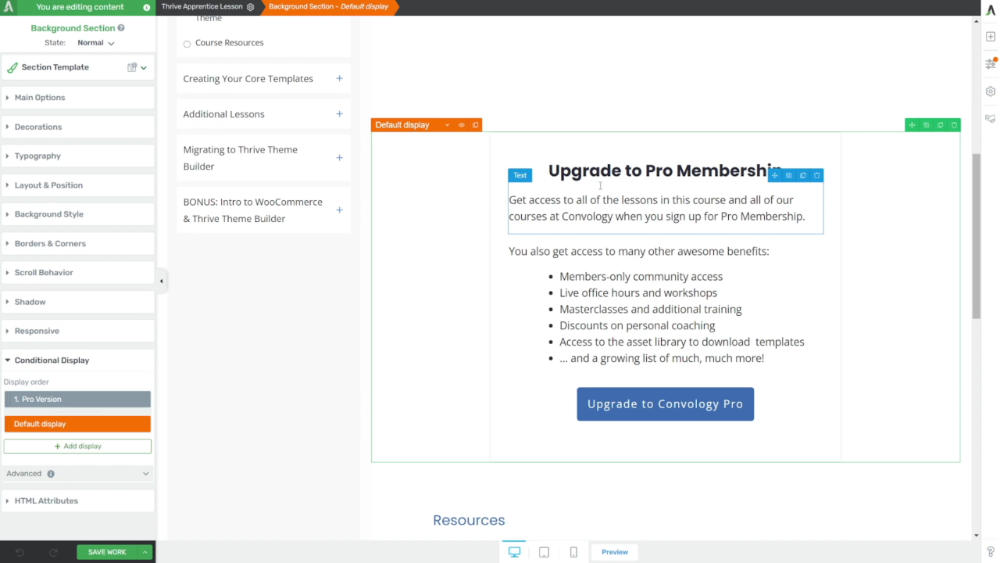
To add conditional display content into a Thrive Apprentice course, open up a lesson by clicking 'add content'.
I like to add a background section or a content box into my lessons wherever I want this dynamic promotional area to appear. Remember, conditional display requires a container element.
Add Promotional Upgrades to Default Display
You should place all of your promotions inside of the default display. This ensures that by default your promotional message, such as an upgrade to your membership, is always shown UNLESS the user meets certain criteria.
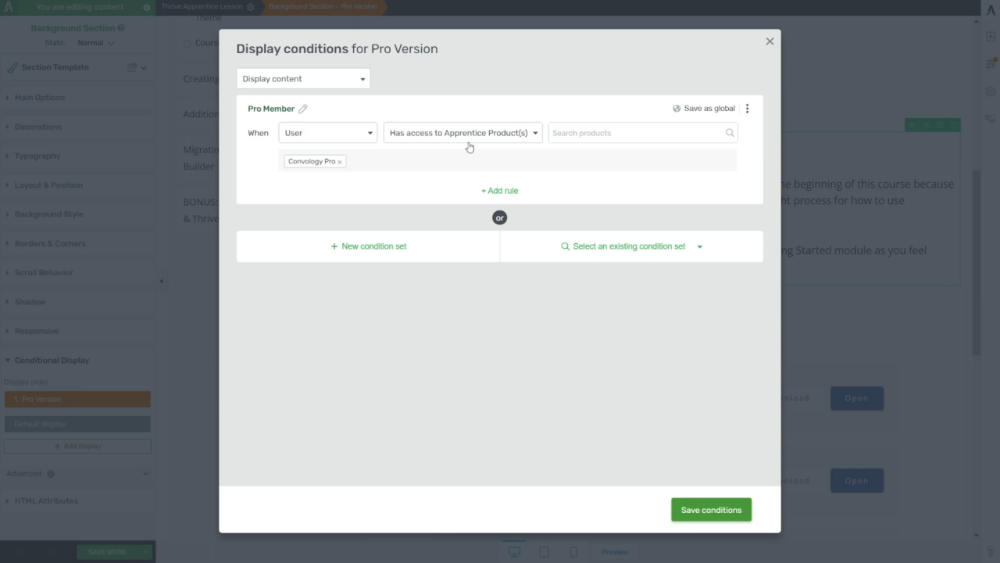
Create Additional Displays for Members or Course Owners
In this example above, by default the user will be shown a message about upgrading their free membership to my all-access-pass pro membership called Convology Pro.
However, since the user must be logged-in in order to access the free course, I created a display condition that states if the user has access to a specific Thrive Apprentice product (Convology Pro) then show a different display.
This secondary display can be nothing at all (leave the content container blank) or it can be a message specifically to your members.
Here are just a couple of general examples for how you'd apply this example:
- Upsell existing students/members from one course into another course
- Upsell leads from a free course or module to a paid version
- Upgrade course students into memberships
Show Content Certain Times of Day
Conditional Display can also be used to show content during certain times and dates, including days of the week. This is a perfect solution for a business that operates during specific business hours such as:
- Local businesses open during certain days of the week
- Businesses with operating hours that differ throughout the week
- Showing after-hours contact information such as an after-hours emergency line
This conditional display block can be placed directly on a contact page or a header/footer.
Member Dashboard & Login Page Combo
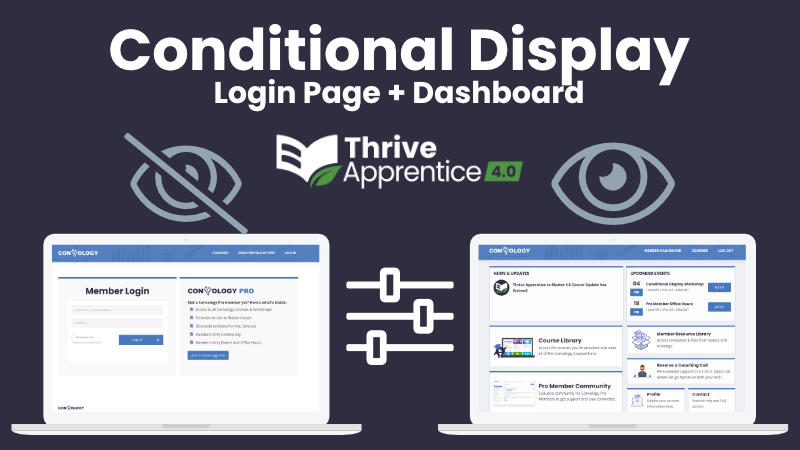
My personal favorite use of conditional display relates to not only the dynamic appearance of content, but also the functionality for how the login experience works in Thrive Apprentice.
Normally users have to visit a login page then be redirected somewhere, but using conditional display I have developed a method for users to log in and stay on the same page while having the visible part of the page morph seamlessly into a user/member dashboard.
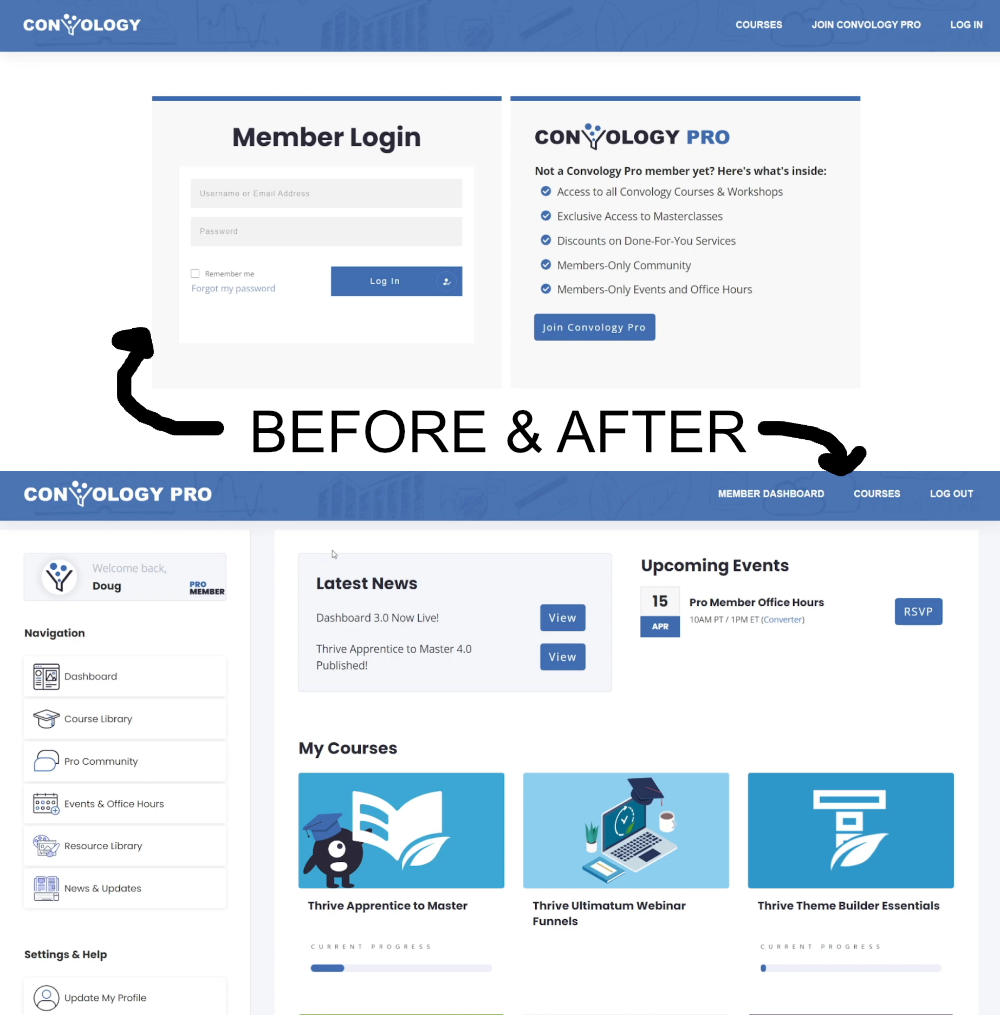
The trick to accomplishing this conditional display magic is to place your login form in the default display. Then, create a new display with your dashboard inside. Set your dashboard display to only show when a user is logged in.
Want to get really fancy? Create different versions of your dashboard for members, non-members, course owners, etc., by adding an additional display rule for users who have access to a specific Thrive Apprentice product!
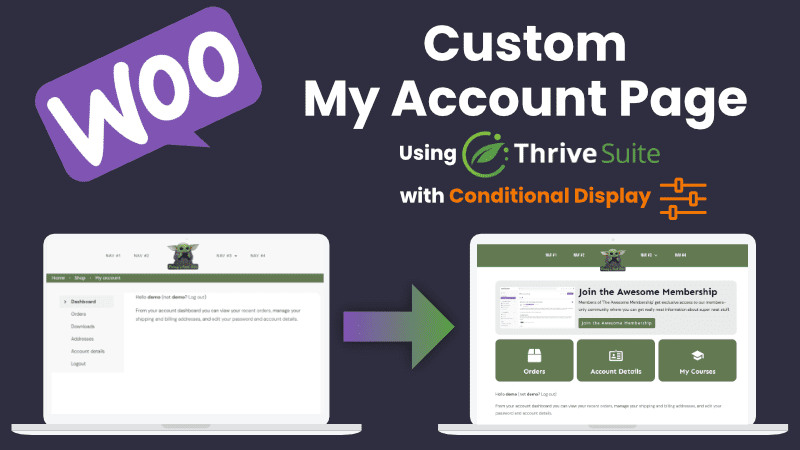
For more tutorials on how to create dashboards and account pages with Conditional Display, check out these tutorials:
Show Different Lead Magnets Based on Categories
If you have a special offer such as a lead magnet on your blog, whether in a sidebar or in the top or bottom section, you can use conditional display to take that single location in your theme template and transform it based on the category of the post.
Have your default display be your standard lead magnet or offer. That way if you don't have a lead magnet for a particular category, it will still show your primary offer.
To show your category-specific offer, add a new display. Create the following display condition:
Post or page > Category > is equal to the category(s) you want it to show on.
It's that simple!
Co-Branded Affiliate or Partner Landing Page or Sales Page
If you have affiliates promoting your offer or if you partner with someone and it makes sense to show their branding or show specific content related to that partner, then conditional display is a great tool.
You can have one single sales page or landing page but swap out the co-branding or the personalized message for that affiliate without having to create more pages.
In the container where you want the personalized photo or text, have a default display for your main branding. Add an additional display for each partner and affiliate. Inside those containers, have the same design and swap the images and text to personalize it.
The conditional display rule for each of your sections will use the following:
When > Request Data > URL Query String > [Variable Name] > Equals > [Variable]
The variable name and the variable are the two components you customize. If you were going to do this for affiliates, perhaps you want to have the variable be affiliateid and the variable be the id of that affiliate. Below is an example:
When > Request Data > URL Query String > affiliateid > Equals > convology
Alternatively, you can use the following conditional display rule to change the content on your page based on where the referral traffic is coming from. In that case, here's what that recipe will look like:
When > Referral > URL > [URL of the partner or affiliate]
Using requested data and referrals really elevates the power of Conditional Display!
Complete Conditional Display Video Walkthrough
Many of you asked for a complete walkthrough of Thrive Suite's Conditoinal Display, so I put together this walkthrough for you! This is a broad overview with thoughts and examples for each option.
It’s difficult to find a way to contact you! I would love to learn more about Convology Pro, such as how often you have your calls, if you share a roadmap for upcoming courses, etc.
You can reach me anytime by sending me an email to [email protected].
We hold office hours live every two weeks, but questions can be asked any time in the community where I strive for rapid response times.
Courses and workshops coming this year:
– Building a Consulting Funnel
– Getting Started with FluentCRM
– Growing a Business with YouTube
– Thrive Apprentice to Master updates for SureCart
– SureCart workshops
Send me an email with any other questions.
HI Doug – is there an option for – does not have access to a particular product – i only see the option for when they DO have access.
You have a default view which is used as the baseline. So you build a conditional display for the baseline, then have a version when someone does have access. You can do the inverse, too. Instead of showing something when someone has access, you can hide when they have access. You can do a different kind of inverse by showing something when someone has access to some products, but not another. For example, if you have two products you can create a rule to show something when a user has access to product A, but leave off product B. That’s how you would promote product B.