I recently featured a robust tech stack for creating a funnel to sell courses built in Thrive Apprentice. In this tutorial I want to showcase a simpler option that will allow you to spend quite a bit less money while still maintaining a very workable and reasonable solution.
Using nothing more than a form processor, you can sell your course, gather your customer’s contact information, grant access to your course, and even drop them into an email marketing automation sequence in your favorite ESP.
The form processor I’m talking about is WP Fluent Forms, and we’ll be using the Pro version for this tutorial since it adds all kinds of awesome integrations. Fluent Forms is now my new favorite form processor for WordPress because (on top of being fast and customizable) it integrates with all of my favorite tools. It also has a lifetime deal right now, so goodbye expensive recurring forms!
For a video walkthrough of this tutorial, check out the video below.
What makes using Fluent Forms with Thrive Apprentice possible?
- Stripe integration
- User registration
- Email integrations with tools like SendFox, ConvertKit, MailChimp, etc.
- Embed the form anywhere in a Thrive Architect landing page
Let’s dive into this setup a bit.
Using Fluent Forms with Stripe Payments
Integrating Stripe with Fluent Forms is on par with any other Stripe integration. Grab your two keys from Stripe, drop them into the Payment settings of Fluent Forms, and you’re good to go.
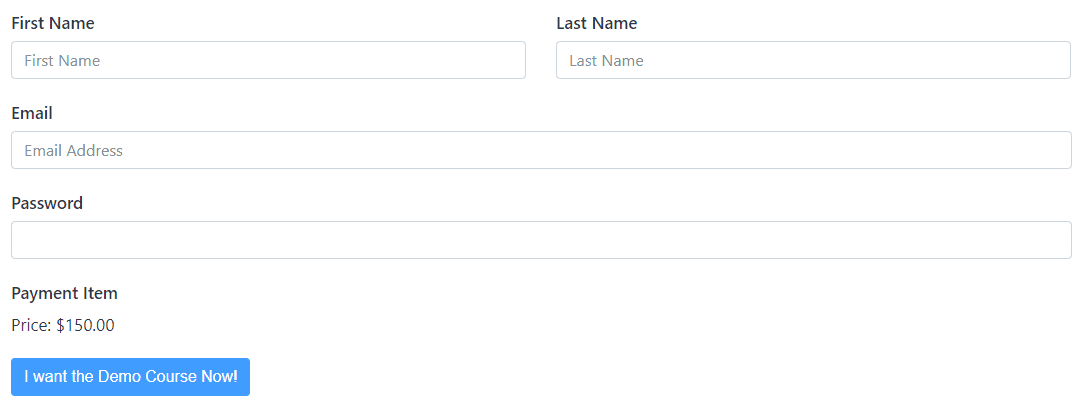
Building Your Course’s Payment Form
Inside the Form Builder you’ll find four new fields: Payment, Custom Payment Amount, Item Quantity, and Payment Method.
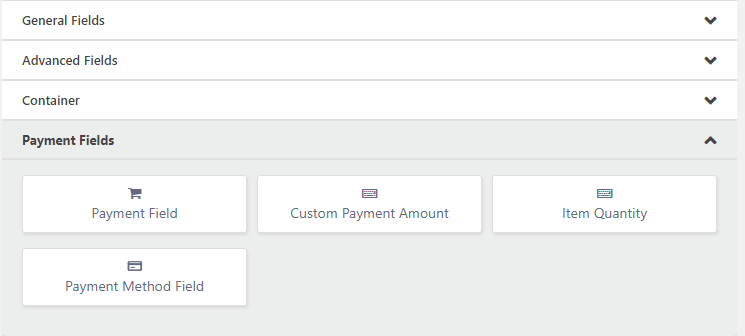
For our purposes here of selling a course at a set price, you just need to bring over the Payment Field and the Payment Method Field. Let’s look at these two:
- Payment Field – This is how much your course costs. Pretty simple.
- Payment Method Field – If you’ve enabled Paypal as a payment options along with Stripe, you can let your customers choose their preferred method. Even when only using one method, you have to have this field on your form. It’s hidden if you only have one option.
Keeping Track of Payments Made Through Fluent Forms
Inside of Fluent Forms you can also see all payments received, pending, etc. I really like this feature.
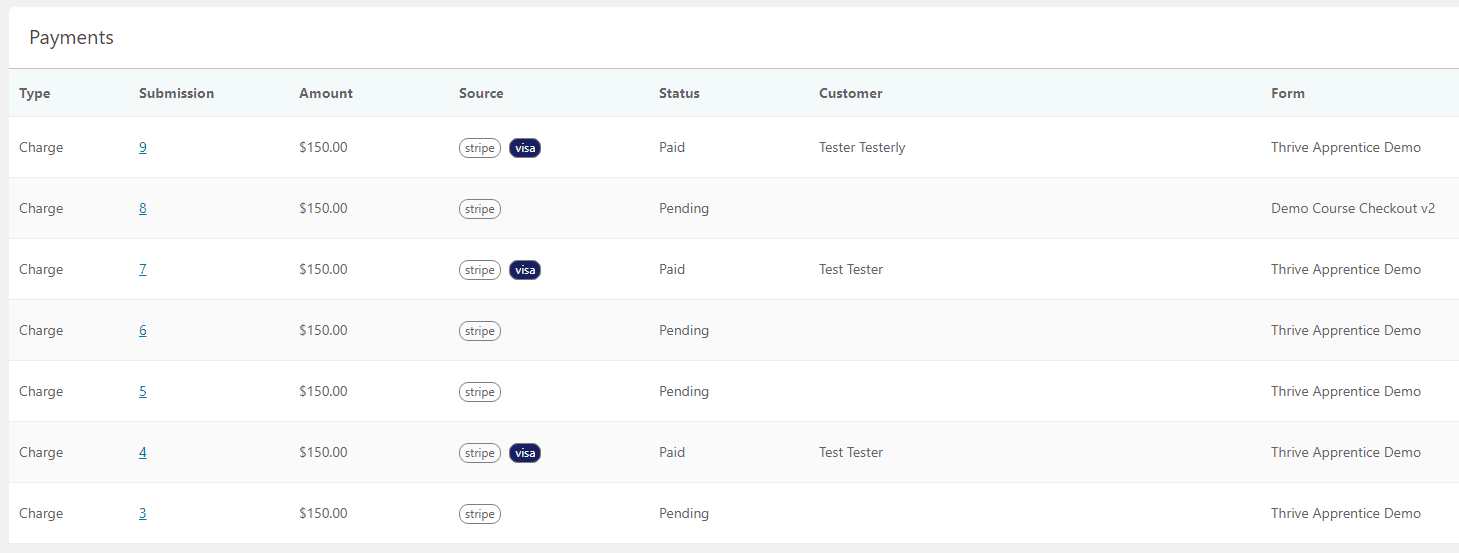
Instead of just dropping the payments into your Stripe and calling it a day, Fluent Forms lets you go in and look at how much was paid, the device used, transaction id, submission logs, and add your own notes to that transaction. This could be handy for customer service needs.
Registering Users with a WordPress Account
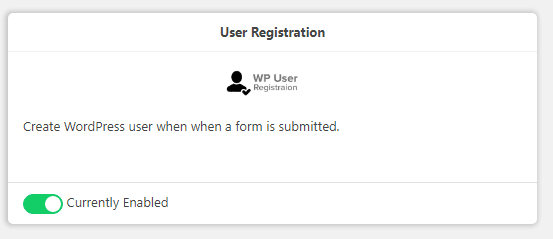
This step is really important. We’re not just collecting money using Fluent Forms because that could be done in a plethora of easier ways. We’re actually going to create the user’s account in your WordPress site at the exact same they pay.
Simply enable the module under ‘Modules’ on Fluent Forms add a Password field to your form.
Now just follow these steps to enable the user registration:
- Go to your form and click on ‘Settings’
- Navigate to ‘Marketing & CRM Integrations’
- Click the ‘Add New Integration’ button in the upper right
- Select ‘User Registration’
Now we map the fields the user will submit to the necessary WordPress user fields. You’ll want to map Email to Email, Name to Name, and of course Password to Password. You can also choose what default user role the person will inherit. This can be left as Subscriber for most people, but if you’re selling multiple courses you will want to get a User Role Editor and create a new User Role for each of your courses. They’ll be listed here.
Don’t forget to check the ‘Enable This Feed’ box at the end, then save.
Note: Whichever role you choose here will need to be added as an access rule inside of Thrive Apprentice.
Integrating with Email Marketing Providers
This is yet another step that will set your Fluent Forms funnel for Thrive Apprentice apart from other solutions. Similar to how we enabled the previous modules, simply enable the module that corresponds with your preferred email marketing service provider. You’ll need to do all of the usual API key pasting here too.
The process for integrating with your Email provider is identical to enabling User Registration. Go back to ‘Marketing & CRM Integration’ and now add the integration with your provider.
Why Using an Email Marketing Service Provider Matters
Simply put: Marketing Automations. Now you drip emails out to your students, segment them into other lists for cross-promotions, and provide a much better email experience to them.
I highly recommend SendFox for this integration — be sure to check out my SendFox review. Their connection to Fluent Forms is super easy, so you won’t struggle making that connection.
Integrate Fluent Forms with Thrive Architect
Now you need to take this highly-functional form with robust integrations and put it to use. I recommend building a landing page using Thrive Architect.
For this integration, all you need to do is grab the Shortcode (found throughout your form editing experience — typically in the top right) and paste it into your Thrive Architect page inside of either a Text or WordPress Content element. The form won’t render perfectly on the backend of TA, but a simple preview will show the form works great.
Conclusion
Fluent Forms can create a surprisingly connected yet straight forward avenue for selling your courses built using Thrive Apprentice. Going this route cuts out the need for a tools like a membership platform and a cart solution, which can be quite a savings if you’re looking to go the simpler route.
If you have any questions about Fluent Forms and how you can use it as the centerpiece of your Thrive Apprentice funnel, feel free to reach out in a comment below.